With Sitecore 9 we finally received completely redesigned Forms module, with convenient drag&drop form builder app. Let’s check how flexible it is, by integrating with well-known Bootstrap toolkit, which gives responsive grid system and custom styling for our form.
Standard Bootstrap form has some design principles:
- Input fields are marked with “form-control” CSS class.
- Elements related with one field (label, input, validation) are placed inside one block element marked with “form-group” CSS class (elements with “form-group” class can be used for grid system by adding “col-*-*” CSS classes).
- To make grid system work properly we also need to add “row” CSS (e.g. to form element) and “container” class, which usually is used in main layout outside the form.
With new Forms module we can assign all needed CSS classes to “CSS Class” fields inside form elements properties. To mimic “form-group” blocks we can use Forms Sections, which are rendered as simple HTML div.
Mind that described code is for clean Sitecore 9 and Bootstrap 3. For Bootstrap 4 some changes are needed, like “hidden” CSS should be replaced by “d-none”.
Building Contact Form in Sitecore 9 Forms Editor
You can download Sitecore Package with complete contact form described in the post (if the form doesn’t appear on the list after package installation, rebuild master search index), or watch the steps how to build it using new Forms editor:
After saving the form, you should see new node in your content tree. Take a look at these to check how simple new Forms items are.

If you open root form item, you may notice that Forms uses jquery.validate scripts for the validation. To integrate it with Bootstrap we can use jquery.validate.unobtrusive.bootstrap script. After downloading, place it in you Sitecore Website folder, under following path \sitecore modules\Web\ExperienceForms\scripts\jquery.validate.unobtrusive.bootstrap.min.js. Afterwards we need to point to this script in our form item. Just add it, separated with pipe (“|”). It is worth noting that, the scripts reference will be rendered only on pages containing our forms.

Adding Sitecore 9 Form to the Page
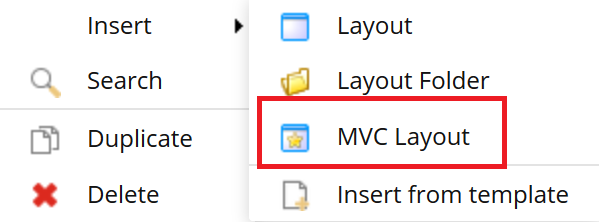
First of all, we need MVC layout with a placeholder where we’ll place our form. So let’s insert new Layout item and choose “MVC Layout” template:
This will create .cshtml file in selected location. We need to update it with code required by Forms:
- @using Sitecore.ExperienceForms.Mvc.Html – needed by Html helpers
- @Html.RenderFormStyles() – will render styles defined in form item in “Styles” field
- @Html.RenderFormScripts() – will render scripts reference defined in form item in “Scripts” field
Next, make few changes for Bootstrap:
- <link rel=”stylesheet” href=”//maxcdn.bootstrapcdn.com/bootstrap/3.3.7/css/bootstrap.min.css” /> – bootstrap styles file from CDN, but you can use your local file.
- <main role=”main” class=”container”> – bootstrap container element.
Update for Sitecore 9.1
In Sitecore 9.1 Forms there is a new feature for fields conditions, which for every condition used, generates inline javascript function in the placeholder where the form is placed. Because those functions use jQuery it’s necessary to render form’s scripts references before the placeholder. The best solution is to follow Sitecore recommendations and render it in <head> tag:
1. Change Main Layout.cshtml to:
|
1 2 3 4 5 6 7 8 9 10 |
@using Sitecore.Mvc @using Sitecore.Mvc.Analytics.Extensions @{ Layout = "MvcOuterLayout.cshtml"; } <main role="main" class="container"> <h1>@Html.Sitecore().Field("title")</h1> <div>@Html.Sitecore().Placeholder("main")</div> </main |
2. Create additional MvcOuterLayout.cshtml file:
|
1 2 3 4 5 6 7 8 9 10 11 12 13 14 15 16 17 18 19 20 21 22 |
@using Sitecore.Mvc @using Sitecore.ExperienceForms.Mvc.Html @using Sitecore.Mvc.Analytics.Extensions @{ Layout = null; } <!DOCTYPE html> <html lang="en" xmlns="http://www.w3.org/1999/xhtml"> <head> <meta charset="utf-8"> <meta name="viewport" content="width=device-width, initial-scale=1, shrink-to-fit=no"> <link rel="stylesheet" href="//maxcdn.bootstrapcdn.com/bootstrap/3.3.7/css/bootstrap.min.css" integrity="sha384-BVYiiSIFeK1dGmJRAkycuHAHRg32OmUcww7on3RYdg4Va+PmSTsz/K68vbdEjh4u" crossorigin="anonymous"> <title>@Html.Sitecore().Field("title", new { DisableWebEdit = true })</title> @Html.Sitecore().VisitorIdentification() @Html.RenderFormStyles() @Html.RenderFormScripts() </head> <body> @RenderBody() </body> </html> |
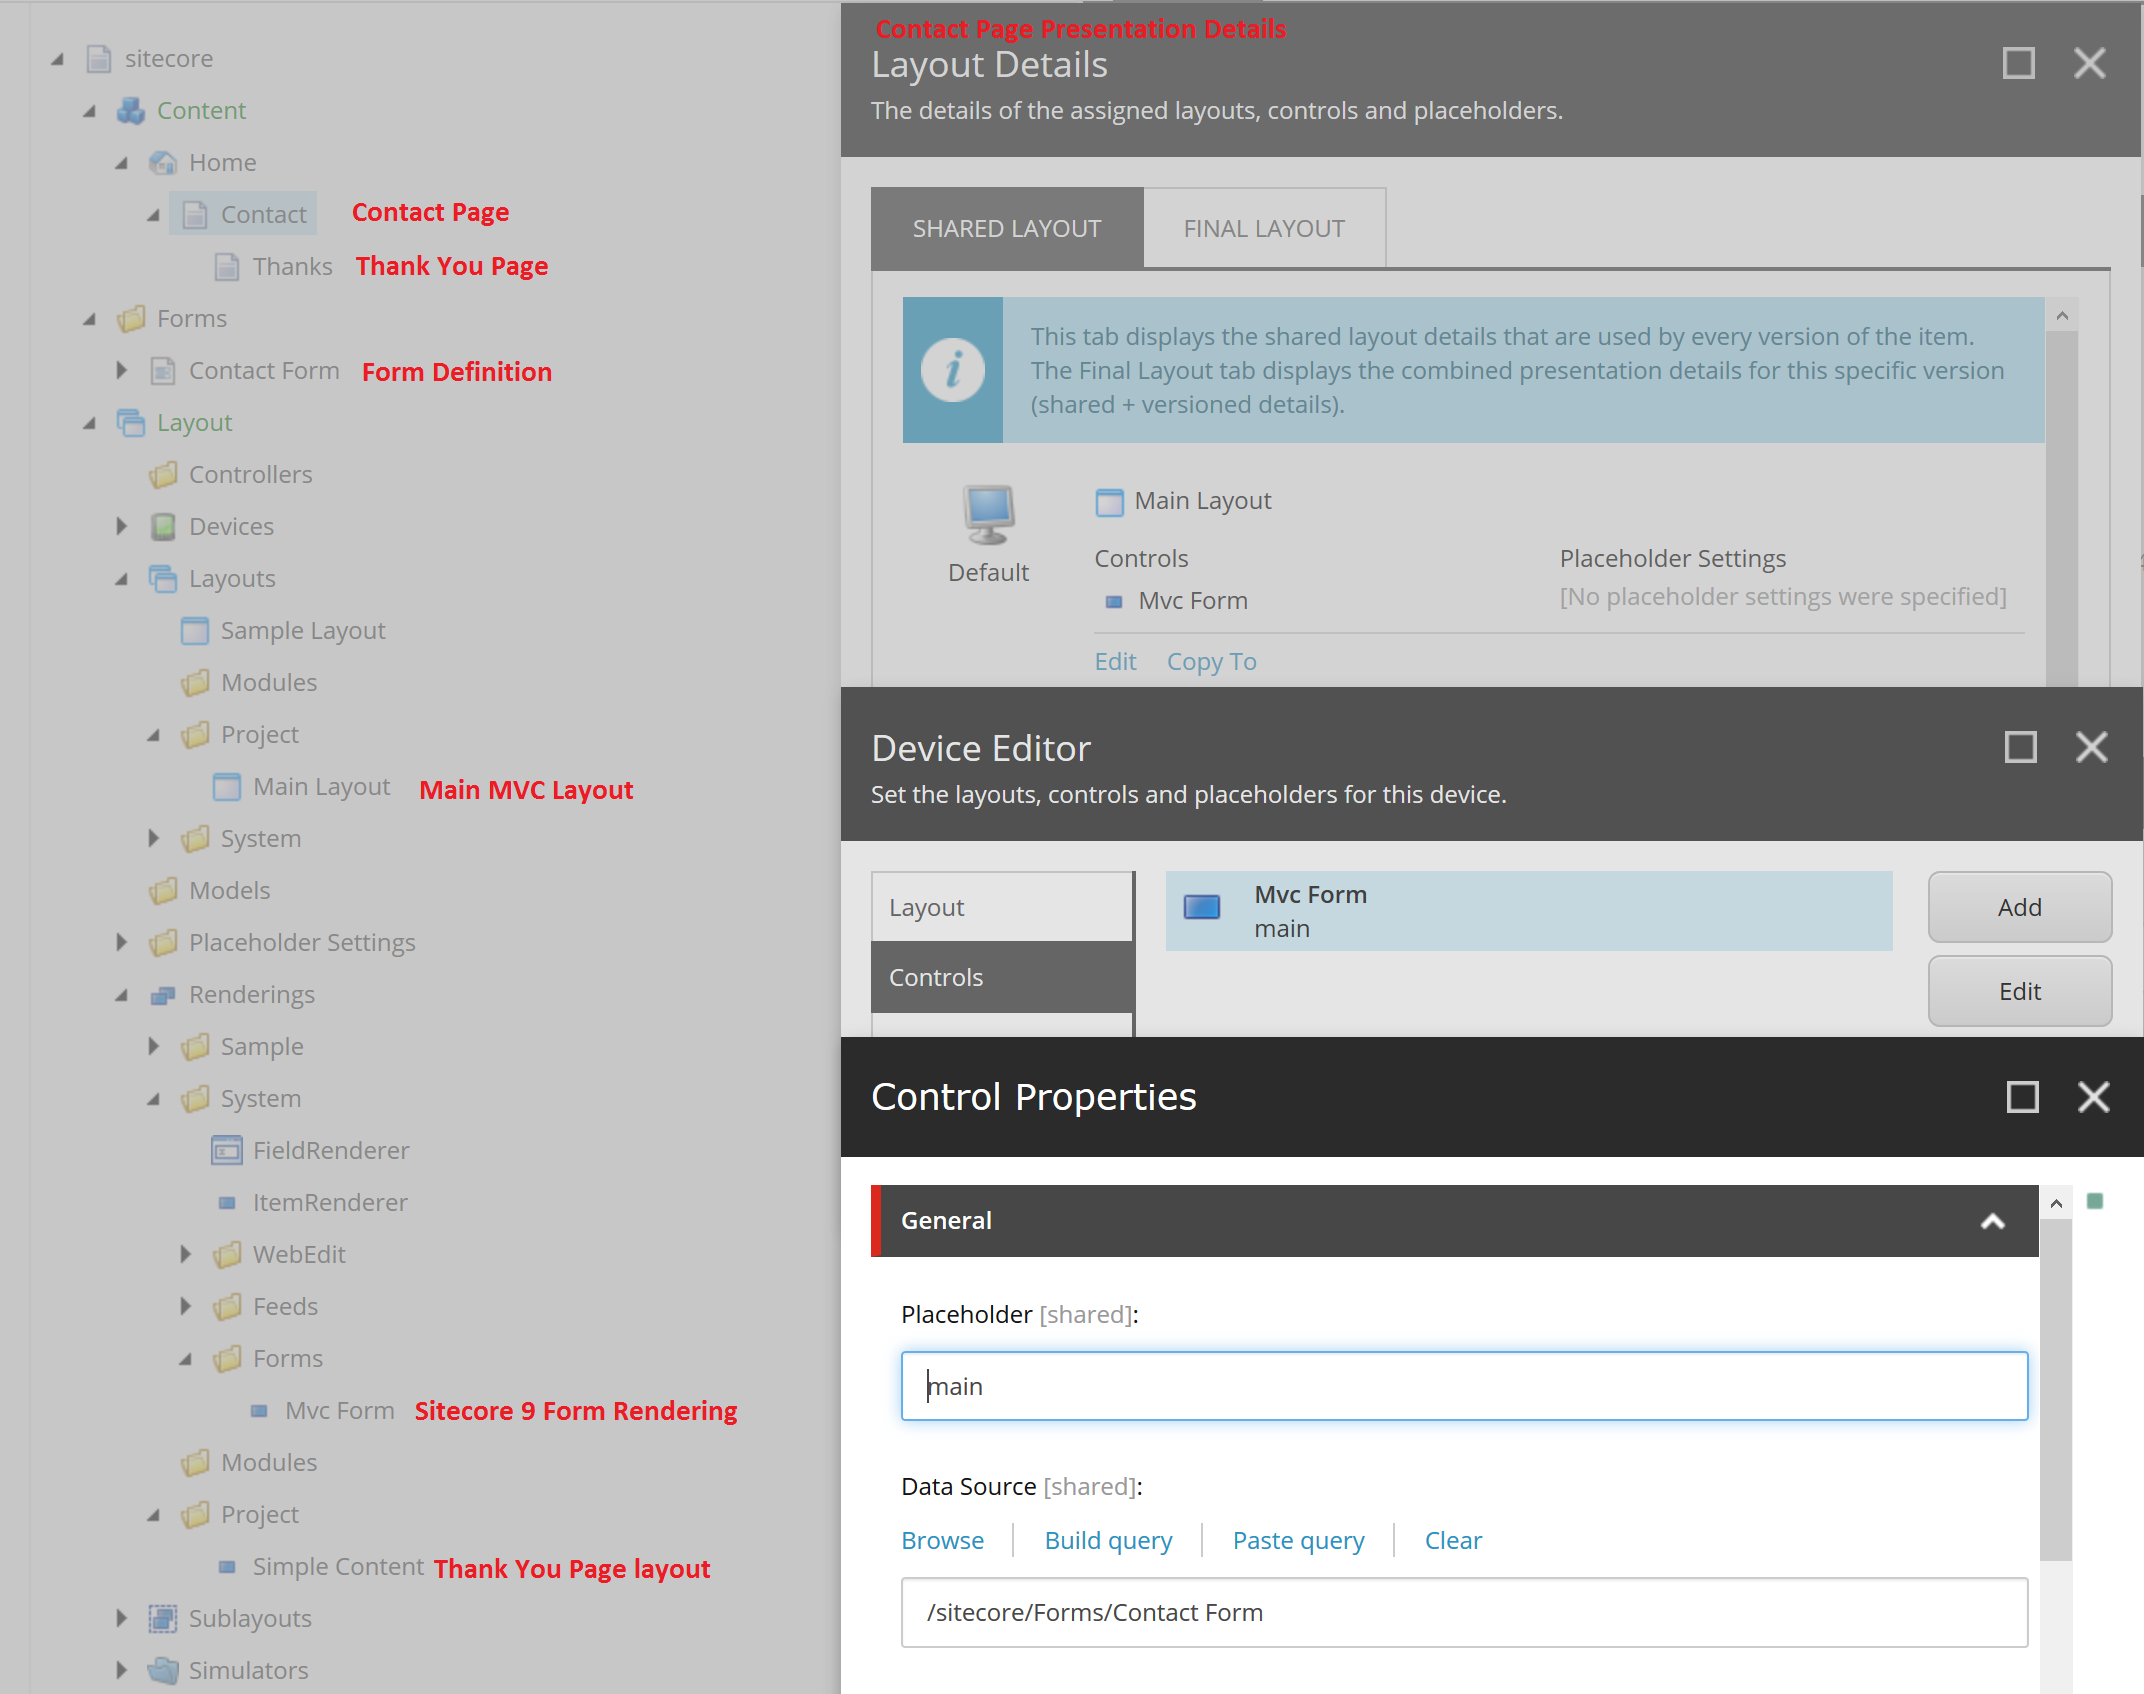
After creating the layout item, use it in “Contact” page item’s Presentation Details and add new Control with /sitecore/layout/Renderings/System/Forms/Mvc Form rendering to “main” placeholder. Then pick your Form item in the data source of this rendering. You should end with something like:
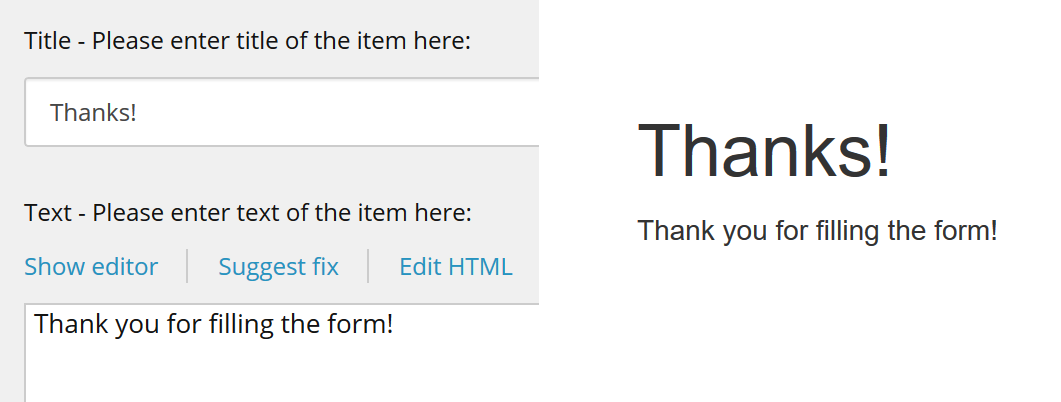
Thank You Page
Additionally we can create “Thank you” page, which will be displayed after submitting the form. Use same “Main Layout” and simple View Rendering in page’s Presentation Details. View rendering code can be something like following:
|
1 2 3 |
@using Sitecore.Mvc @Html.Sitecore().Field("text") |
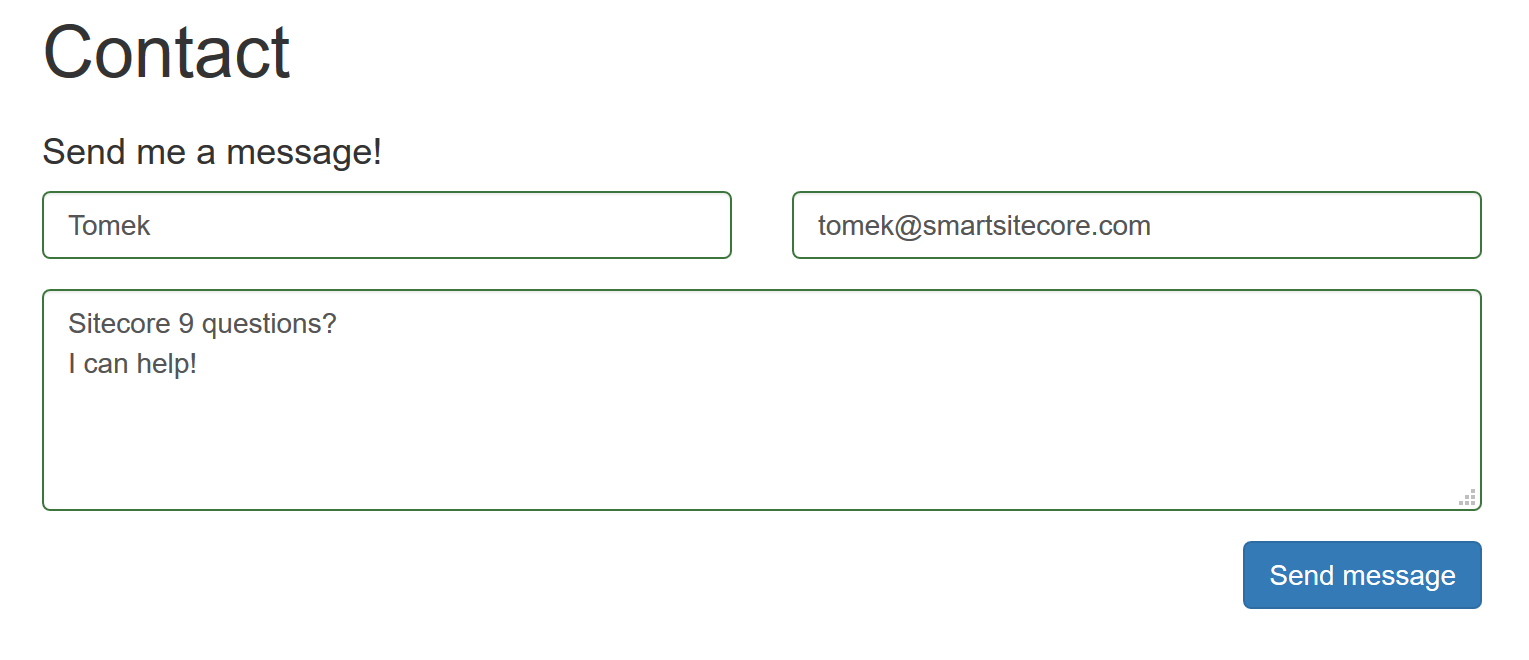
Both rendering and our main layout assumes that context item contains “title” and “text” fields and the page will look like:
Next we select this page item in “Redirect to Page” action in our Form definition in Forms Editor app.
Testing the Form
Finally we can publish all items and test our Contact page. When trying to submit the form with errors, we should see validation messages with Bootstrap styles.
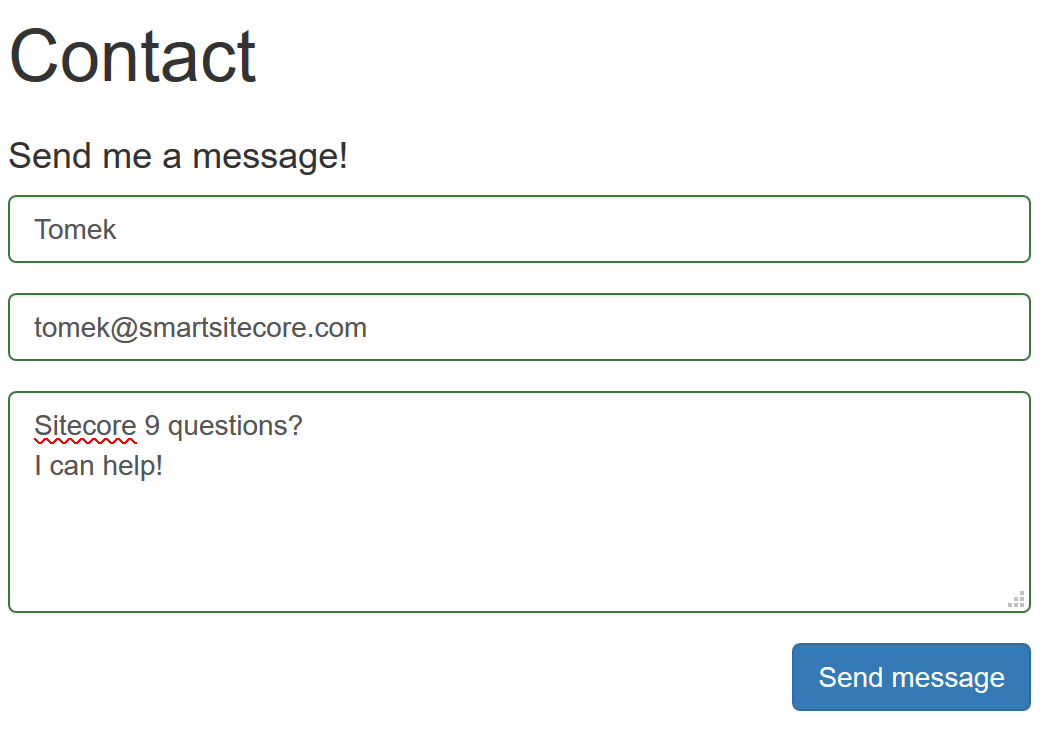
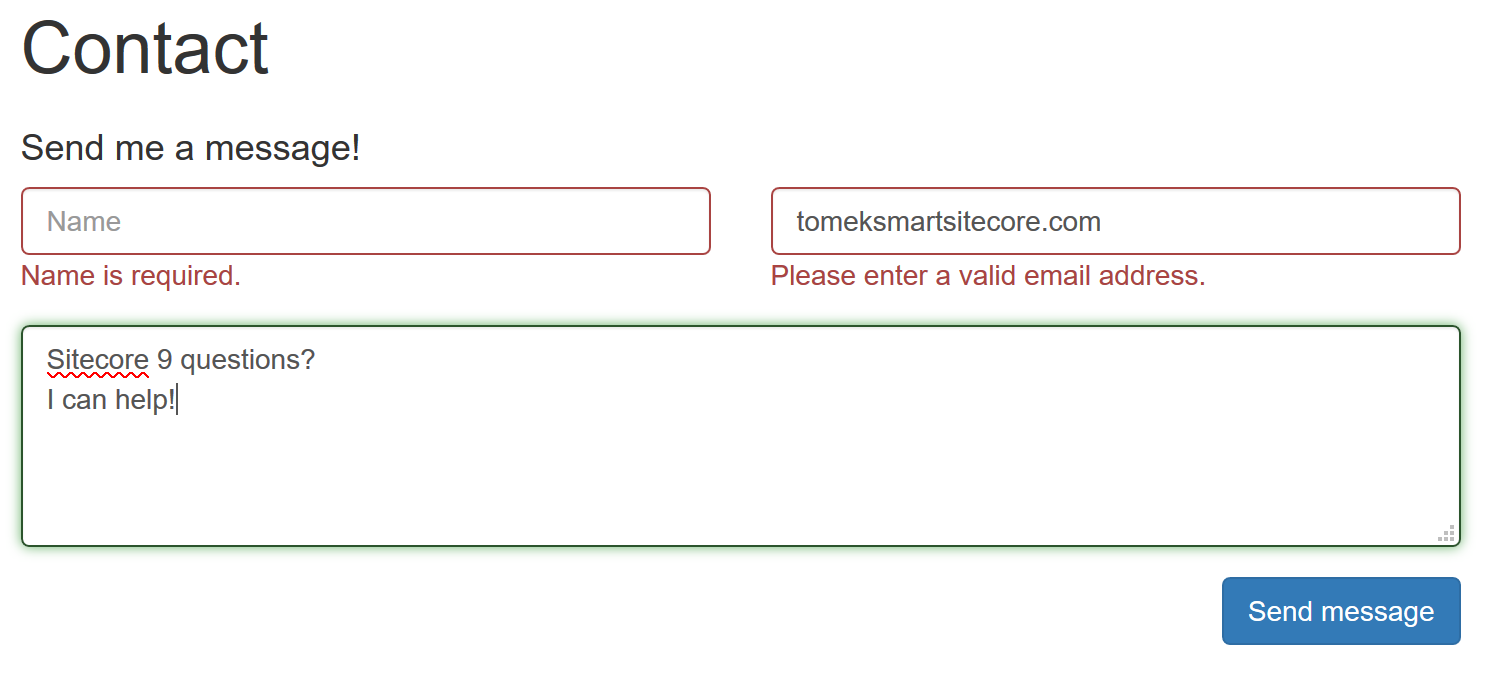 Also the form is responsive for smaller displays:
 After submitting the form, open ExperienceForms SQL database and check the data:

Let’s validate HTML generated by Forms Module, it should contain all CSS classes and scripts needed. You can check .cshtml files used by new Forms module in /Views/FormBuilder in your Sitecore website folder. Form HTML (click to enlarge):

Pingback: Sitecore 9 Forms – Google reCAPTCHA form element | .Net | Sitecore blog()
Pingback: Best Practices on Sitecore 9 Forms for Development Teams | Sitecore()
Pingback: Best Practices on Sitecore 9 Forms for Development Teams | Perficient Digital()
Pingback: Create custom controls in Sitecore Forms without customization – Visions In Code()