XM Cloud components allows developers to register external components which can be used later by the business users in XM Cloud Component Builder. To deliver such component you need to do following:
Add FEAAS Package
|
1 |
npm install @sitecore-feaas/clientside |
Implement FEAAS Component
- Implement your component logic (you can use parameters mapped to Builder UI)
- Register a component
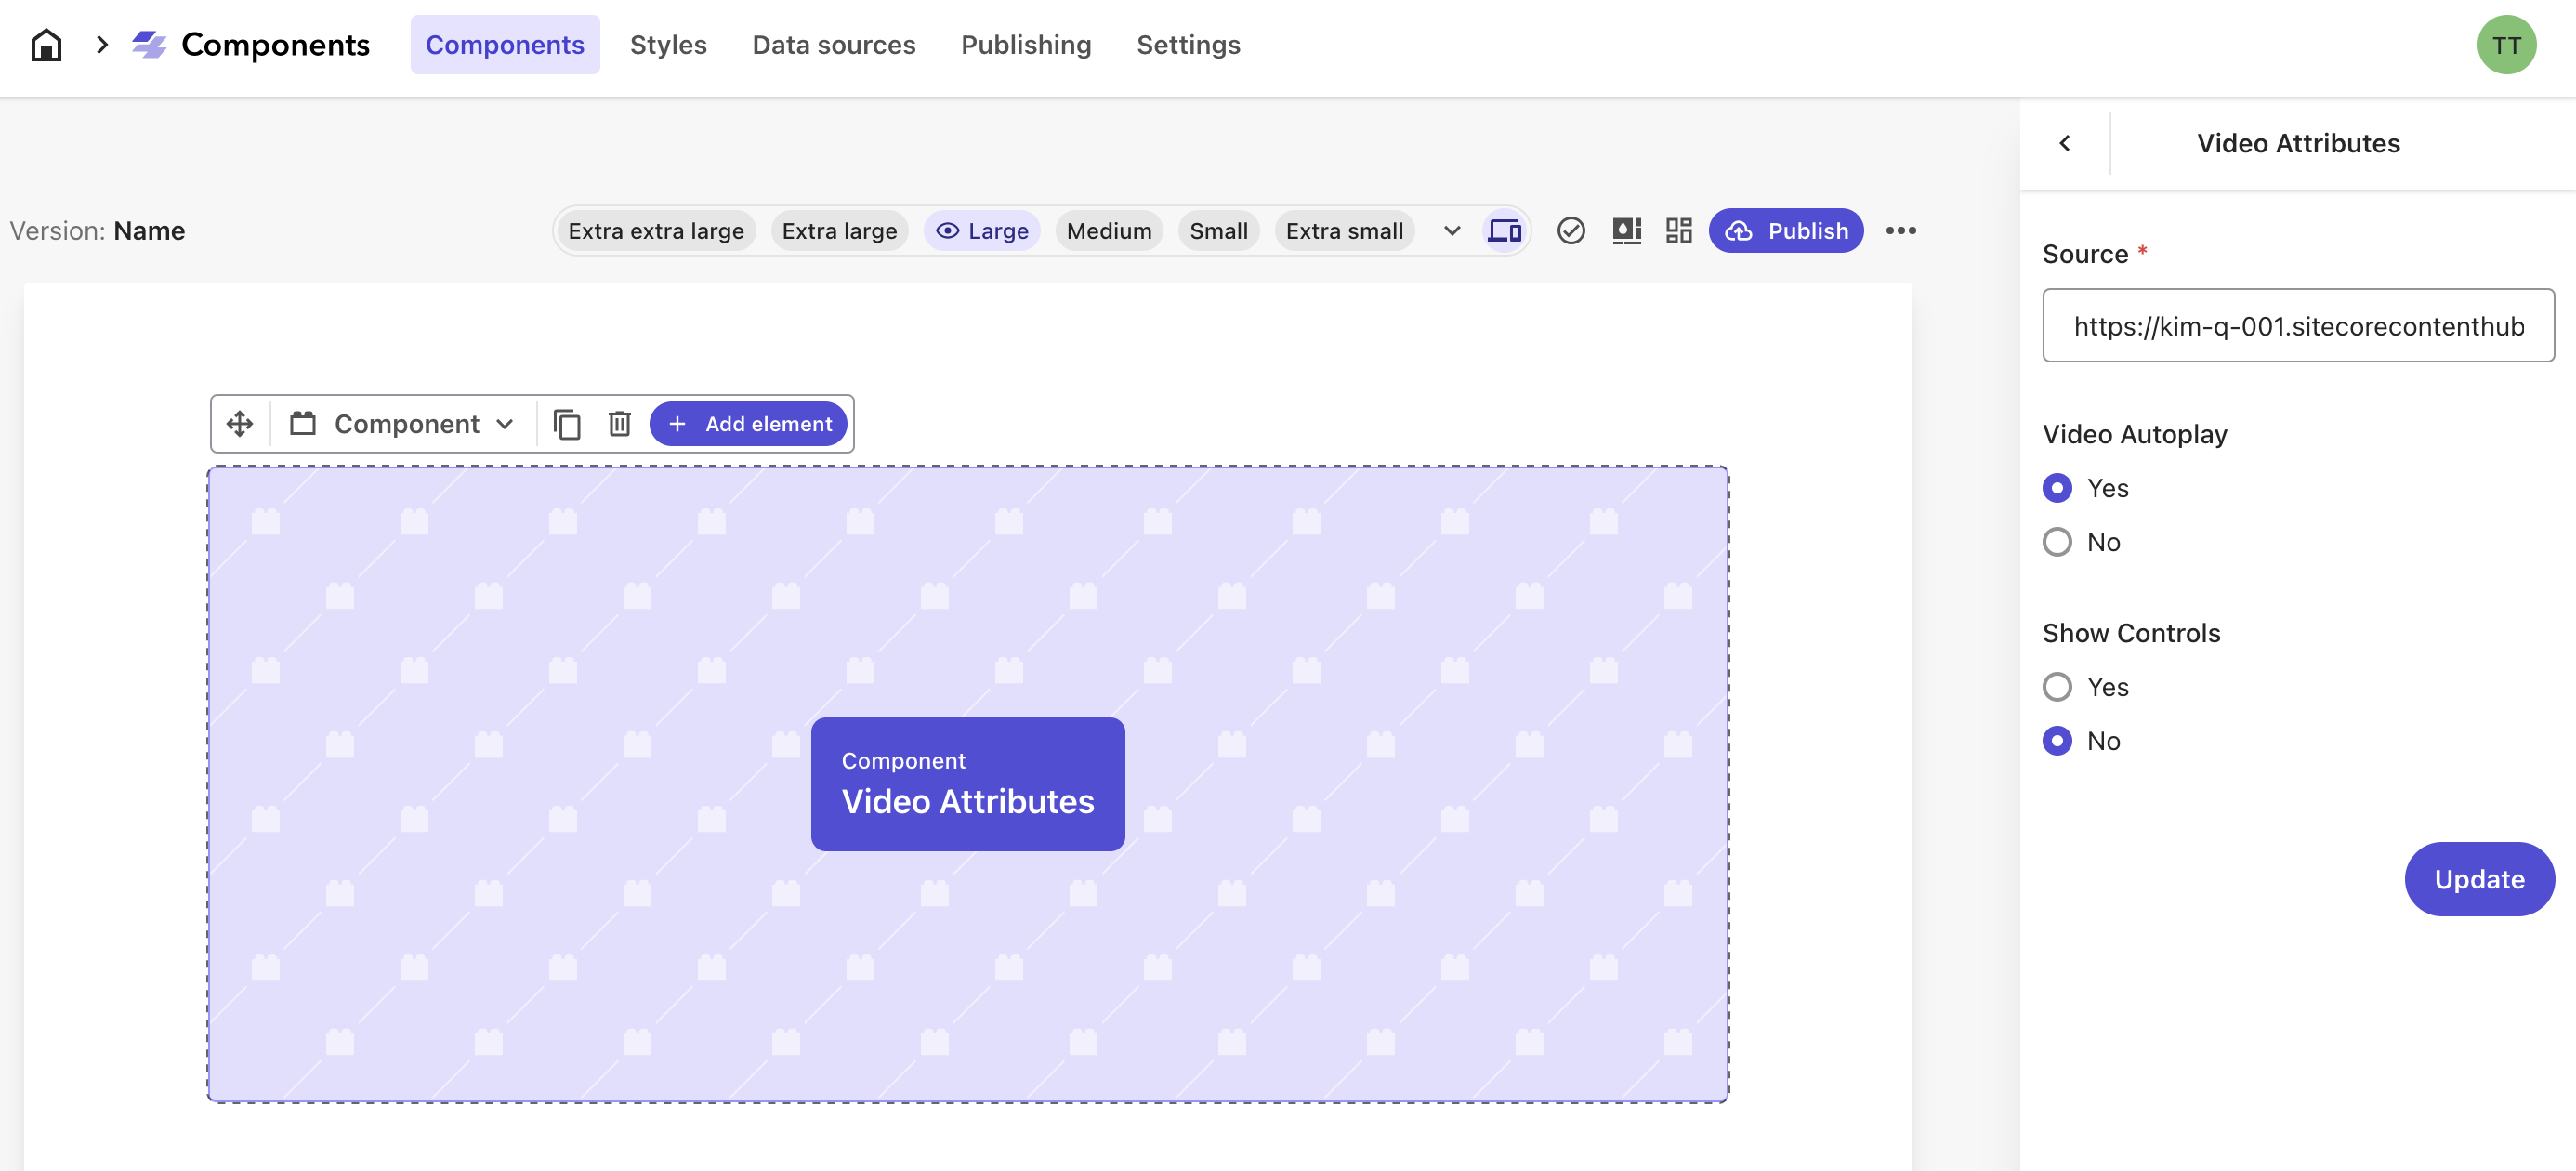
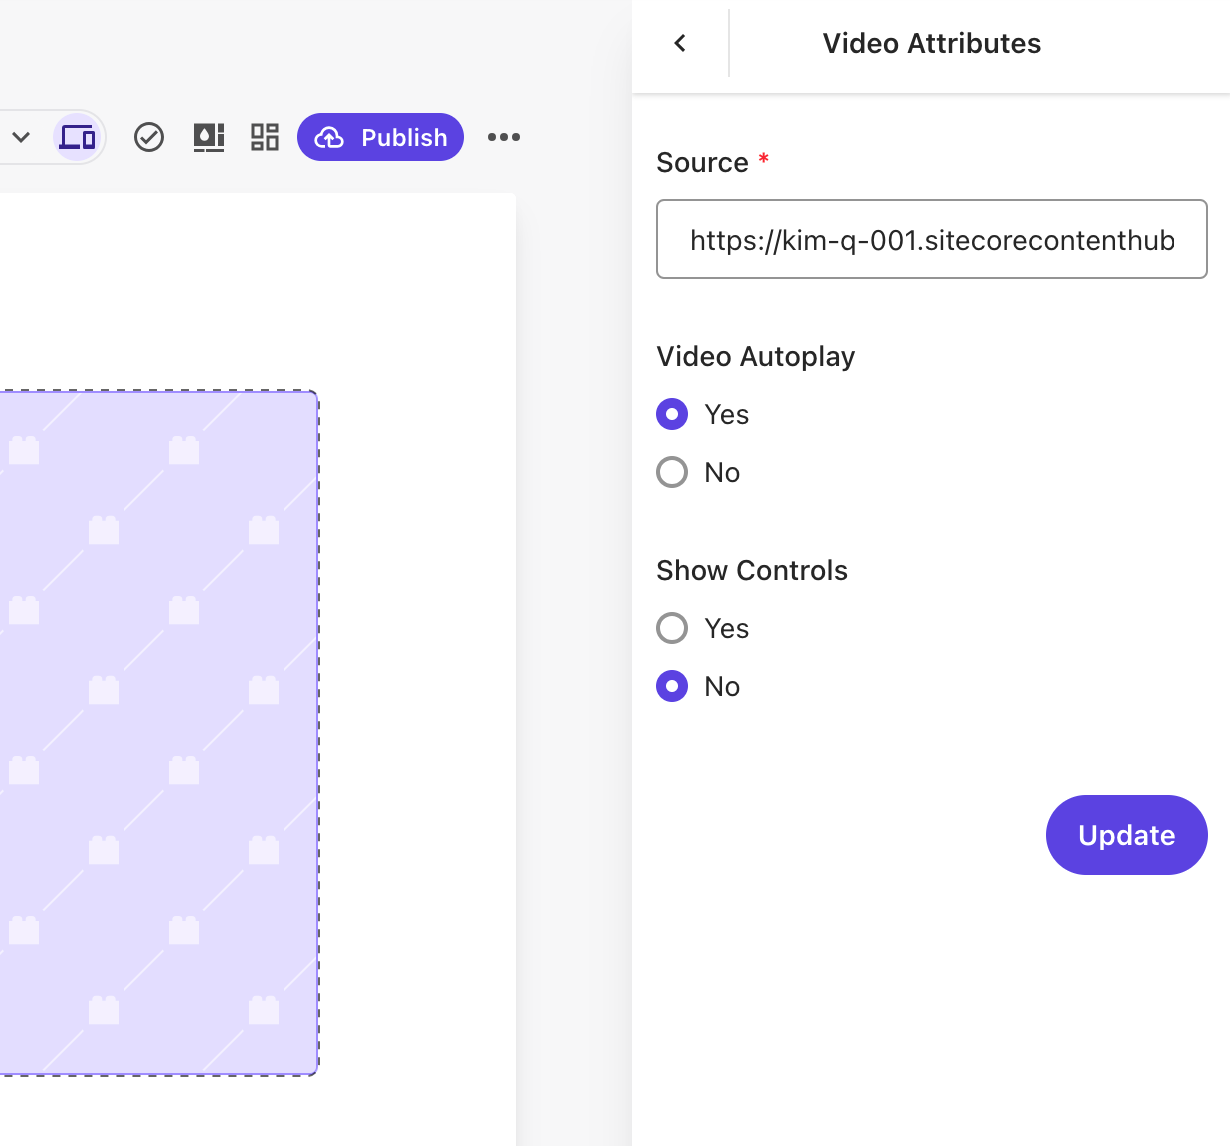
- Map parameters to UI elements in Component Builder
Sample component which displays a video with auto-play and playback controls options (in final implementation video source should be mapped to a data source):
|
1 2 3 4 5 6 7 8 9 10 11 12 13 14 15 16 17 18 19 20 21 22 23 24 25 26 27 28 29 30 31 32 33 34 35 36 37 38 39 40 41 42 43 44 45 46 47 48 49 50 51 52 53 54 55 56 57 58 59 60 61 62 |
import React from 'react'; import * as FEAAS from '@sitecore-feaas/clientside/react'; const VideoBlock = (props: { source: string; autoplay: boolean; controls: boolean; }): JSX.Element => { return ( <div className="video-block"> <video loop={true} playsInline autoPlay={props.autoplay} controls={props.controls} muted width="100%" > <source src={props.source} type="video/mp4" /> Your browser does not support the video tag. </video> </div> ); }; FEAAS.registerComponent(VideoBlock, { name: 'Video Block', title: 'Video Attributes', description: 'Video Block with autoplay.', required: ['source'], properties: { source: { type: 'string', title: 'Source', }, autoplay: { type: 'boolean', title: 'Video Autoplay', default: true, }, controls: { type: 'boolean', title: 'Show Controls', default: false, }, }, ui: { source: { 'ui:autofocus': true, 'ui:emptyValue': '', 'ui:placeholder': 'Enter video source', }, autoplay: { 'ui:widget': 'radio', }, controls: { 'ui:widget': 'radio', }, }, }); export default VideoBlock; |
Register FEAAS Component in XM Cloud
If you added the FEAAS component to your XM Cloud starter kit code, no other code changes are required. You don’t have to create custom rendering host, just push your code changes to repo and deploy it to XM Cloud.
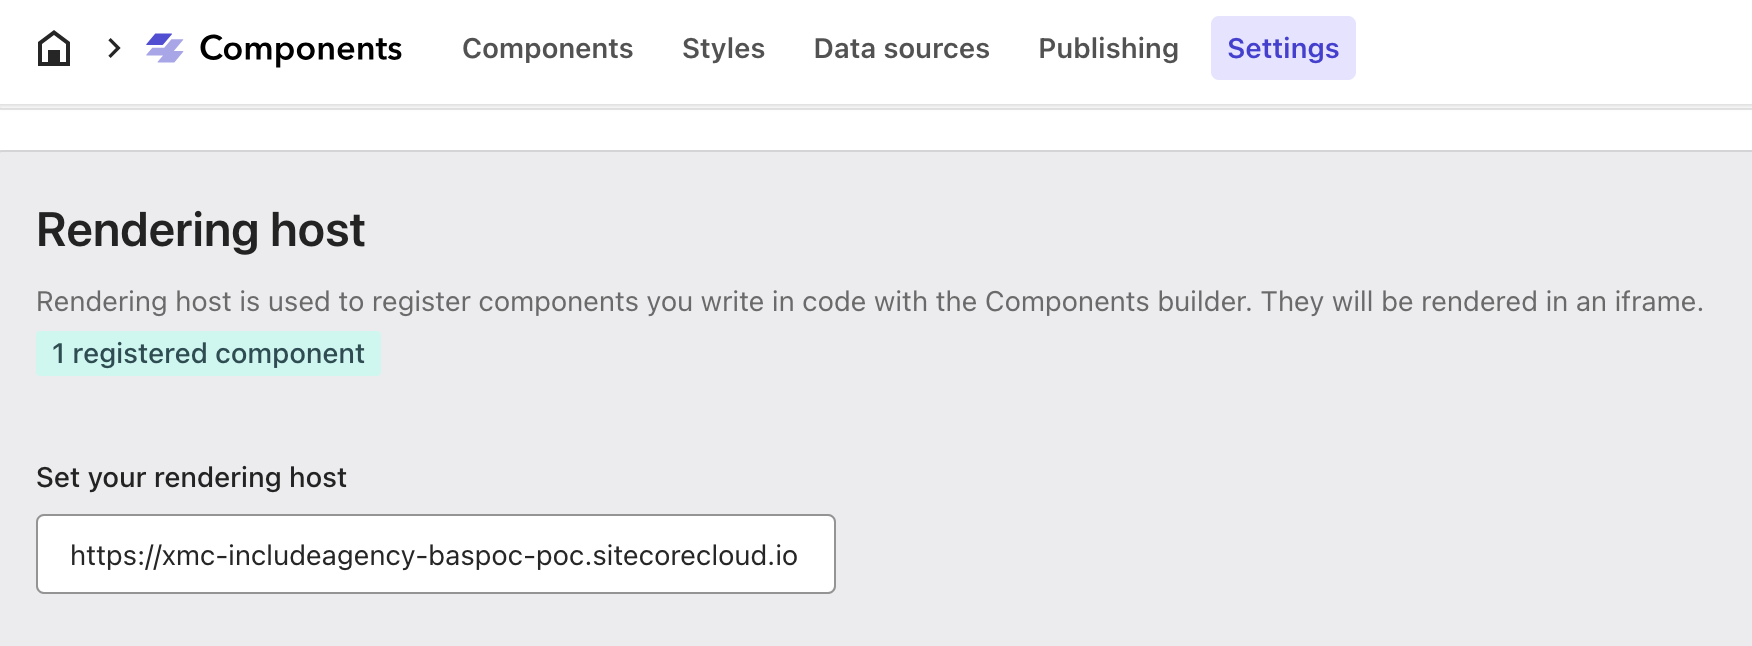
After deployment, go to Components “Settings” section and use your XM Cloud URL for rendering host address and save. There should be a message showing that component is registered.
Use External Component in Builder
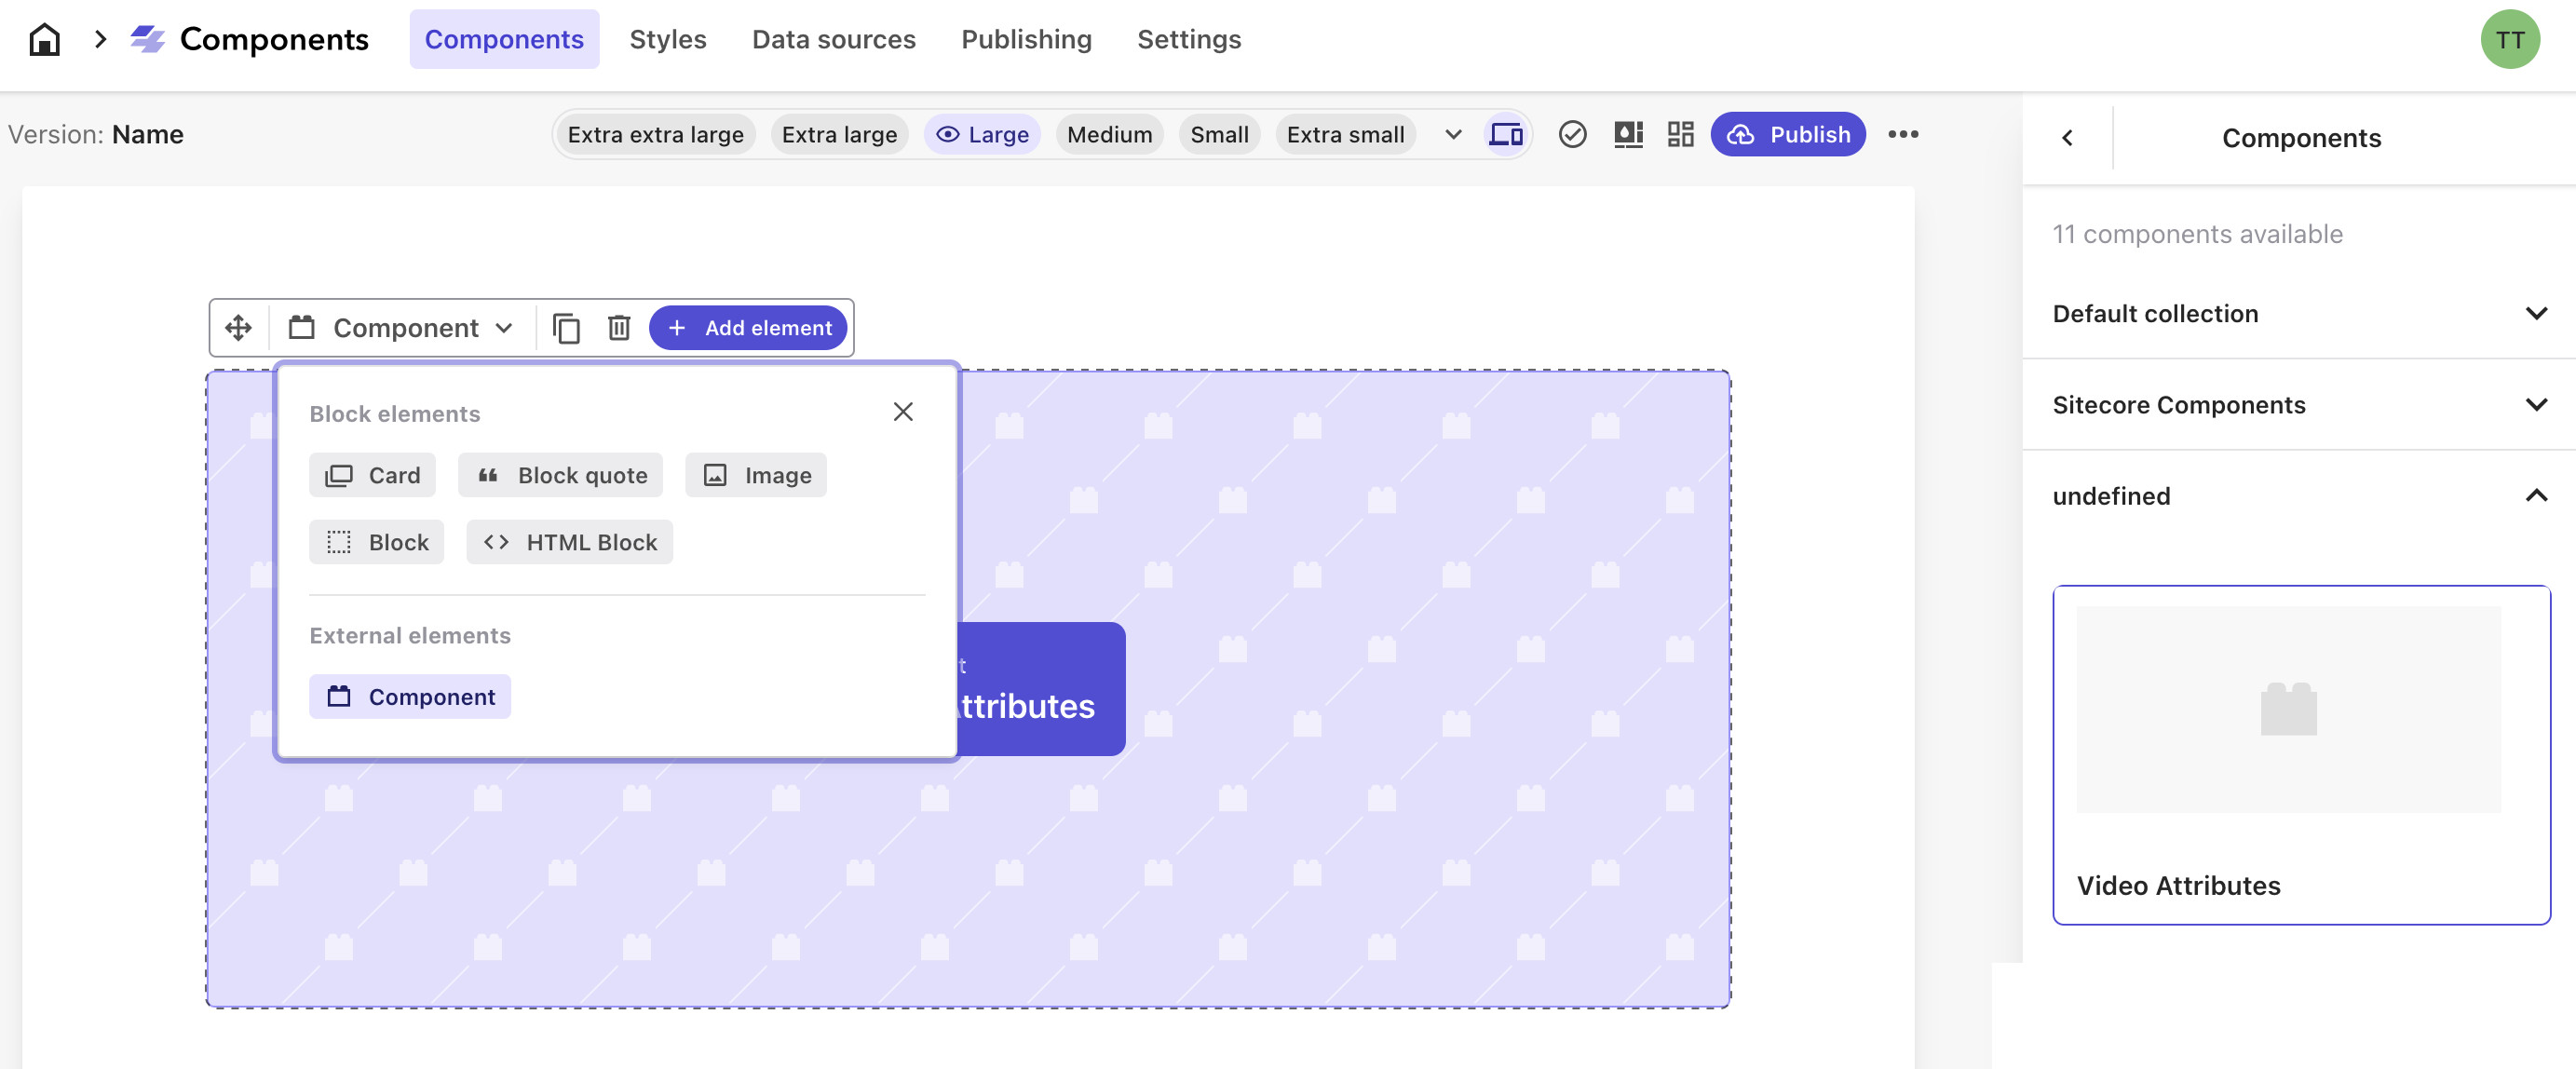
To add your custom component in XM Cloud Builder, click “Component” under “External elements” section and select your BYOC component from the selection.


